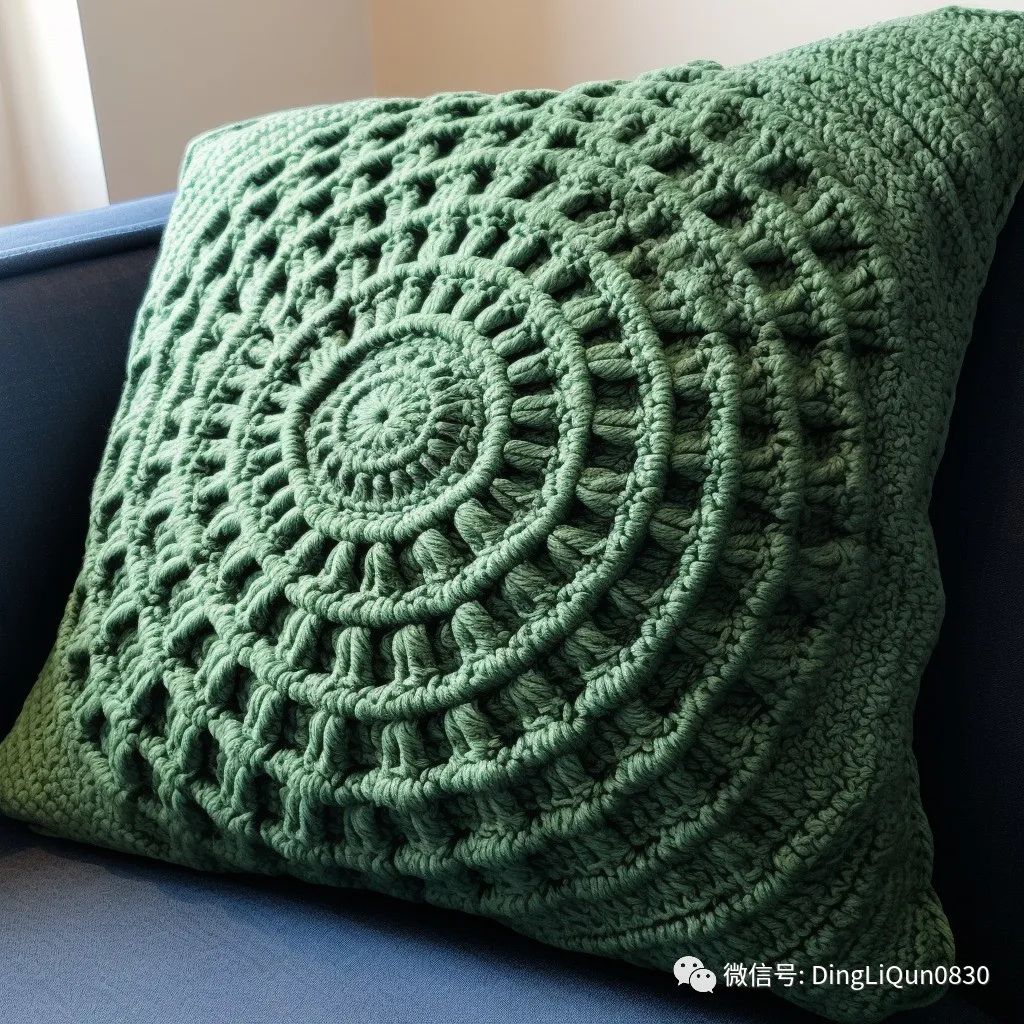
The steps to create a circular pillow are as follows:
Required Materials: Crochet hook (choose one that suits the thickness of your yarn), yarn (select the color and texture according to your preference), stuffing (cotton or down, depending on your desired pillow firmness), scissors, and sewing thread.
Steps: Begin crocheting: First, make a loop, then crochet 6 single crochets inside it, which constitutes the first round.
Increase crochet stitches: In the second round, crochet two single crochets in each stitch, resulting in 12 stitches.
Continue increasing: Maintain this pattern, adding one single crochet in each stitch of the previous round. For example, in the third round, crochet three single crochets in every two stitches, and in the fourth round, crochet four single crochets in every three stitches, and so on.
Complete the circular side: Continue this pattern until the pillow reaches your desired size.
Create the other side: Follow the same process as before.
Stuff the pillow: Once you have two circular sides of the same size, you can begin stuffing the pillow. Place one side down, evenly distribute the stuffing on top, and then place the other side on top of the stuffing.
Connect both sides: You need to join the two sides together. You can sew along the edge using a needle and thread or crochet the edges together, ensuring that the stuffing does not come out during the process.
Completion: Once all the sewing is done, your circular pillow is complete. Making a pillow requires patience and attention to detail; do not rush the process. You may need to try several times to achieve the desired result!