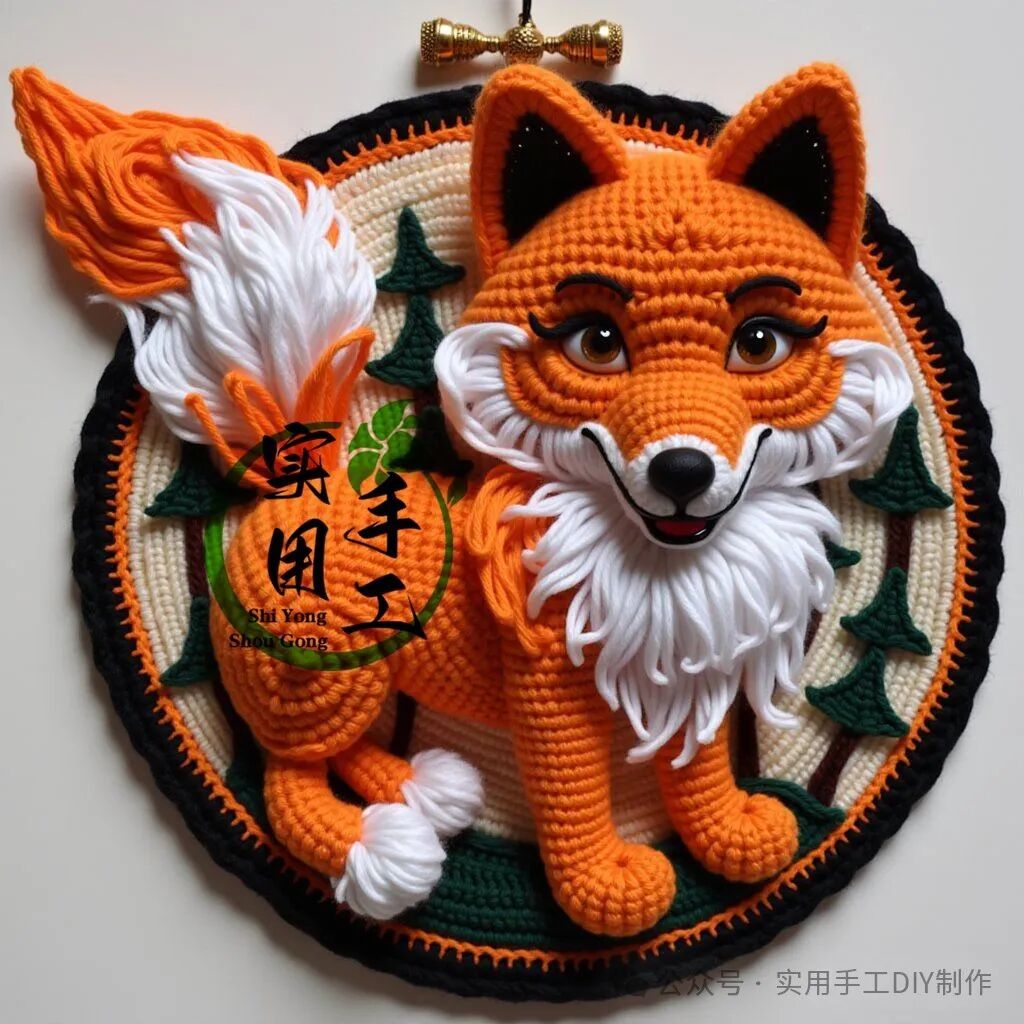
Creating a wolf pattern wall hanging is a creative and challenging craft project. Here is a simple step-by-step guide to help you get started.
Materials Needed: – Crochet hook: Choose an appropriate size, typically between 4.0mm and 5.5mm. – Yarn: Select different colors based on the wolf pattern design. – Scissors: For cutting yarn. – Needle: For detail work and finishing. – Pattern chart: Download or create your own crochet wolf pattern chart. Step-by-Step Guide: 1. Prepare the pattern: Find or design a wolf pattern chart. 2. Choose yarn: Select yarn colors according to the pattern, commonly using gray, black, and white. 3. Start stitching: Begin with the foundation chain as indicated in the chart, usually from the bottom or center. 4. Crochet the pattern: Follow the chart row by row, checking alignment after each row. Use different yarn colors for wolf details and ensure neat color transitions. 5. Finish and detail: Weave in all yarn tails and reinforce key areas with a needle for clarity. 6. Make a hanger: Create a hanger using the same yarn or alternative materials like ribbon or leather cord. 7. Block and shape: Gently stretch and shape the finished piece. Use a steam iron if needed, avoiding direct contact with the yarn. Additional Tips: – Pattern selection: Beginners should start with simple designs and progress to complex ones. – Color transitions: Ensure tight joins when switching colors to avoid gaps. – Patience: Crochet requires patience, especially for intricate patterns; enjoy the process. By following these steps, you can create a beautiful wolf pattern wall hanging, ideal for home decor or as a gift.