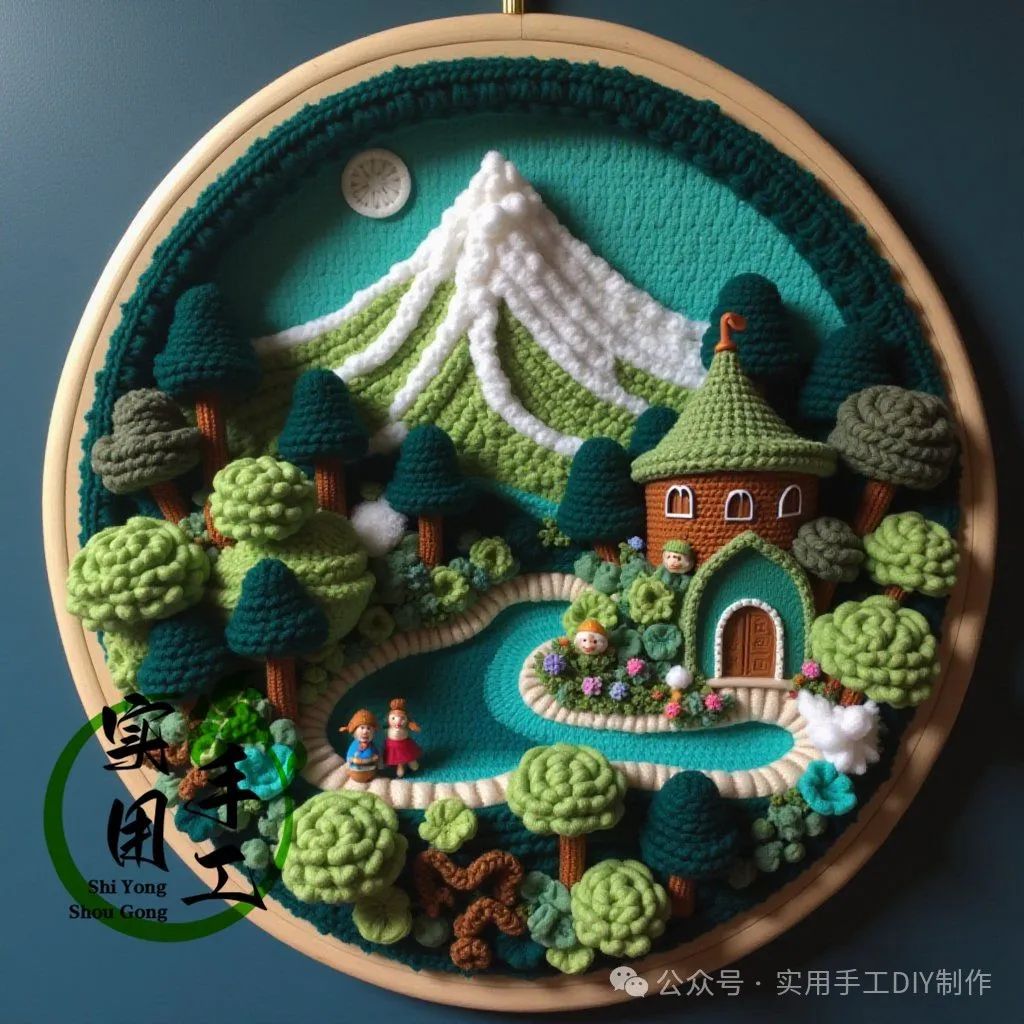
Creating a wall hanging with a crocheted green hills and clear waters pattern is a creative and aesthetically pleasing craft project. Here are simple instructions to help you get started on this project:
Materials needed: Crochet hook: Choose the appropriate size based on the yarn you are using. Yarn: Select different colored wool or cotton yarns, with suggestions including green (mountains), blue (water), and white (clouds and background). Pattern diagram: You can design your own pattern or find ready-made crochet patterns online. Basic crochet tools: Scissors, needle and thread, measuring tape, etc. Stick or metal rod: For the support of the wall hanging.
Step-by-step guide: Step 1: Prepare and design the pattern. Design the pattern: You can draw the green hills and clear waters pattern you desire on paper or search for related patterns online. Crochet patterns are generally represented by grid diagrams, with each square representing a stitch. Choose color combinations: Consider the colors for each part and prepare the corresponding yarns.
Step 2: Basic crochet practice. If you are new to crochet, it is recommended to practice basic stitches first, such as: Chain Stitch (ch), Single Crochet (sc), and Double Crochet (dc).
Step 3: Begin crocheting. Start with a foundation chain: Based on the bottom width of the pattern, start with a chain stitch. Crochet according to the pattern: Crochet row by row according to the designed pattern. Change yarn at each color transition, paying attention to connecting and hiding the yarn. Adjust and correct: Continuously check if the pattern is correct during the crocheting process and make adjustments if necessary.
Step 4: Complete and shape. Finish crocheting: After completing all pattern crocheting, secure the last stitch and cut the yarn, making sure to hide all yarn ends. Shaping: Place the work flat or hang it and gently iron with an iron, or cover with a damp towel and steam iron to shape and flatten.
Step 5: Install and display. Install the support rod: Secure the completed work on a stick or metal rod using needle and thread or other methods. Hang for display: Choose a suitable location to hang your work.
Tips and suggestions: Color transitions: For natural color transitions, try using gradient yarns. Pattern complexity: Beginners can start with simple patterns and gradually challenge more complex designs. Hopefully, these steps and tips will help you successfully create a beautiful green hills and clear waters pattern wall hanging!