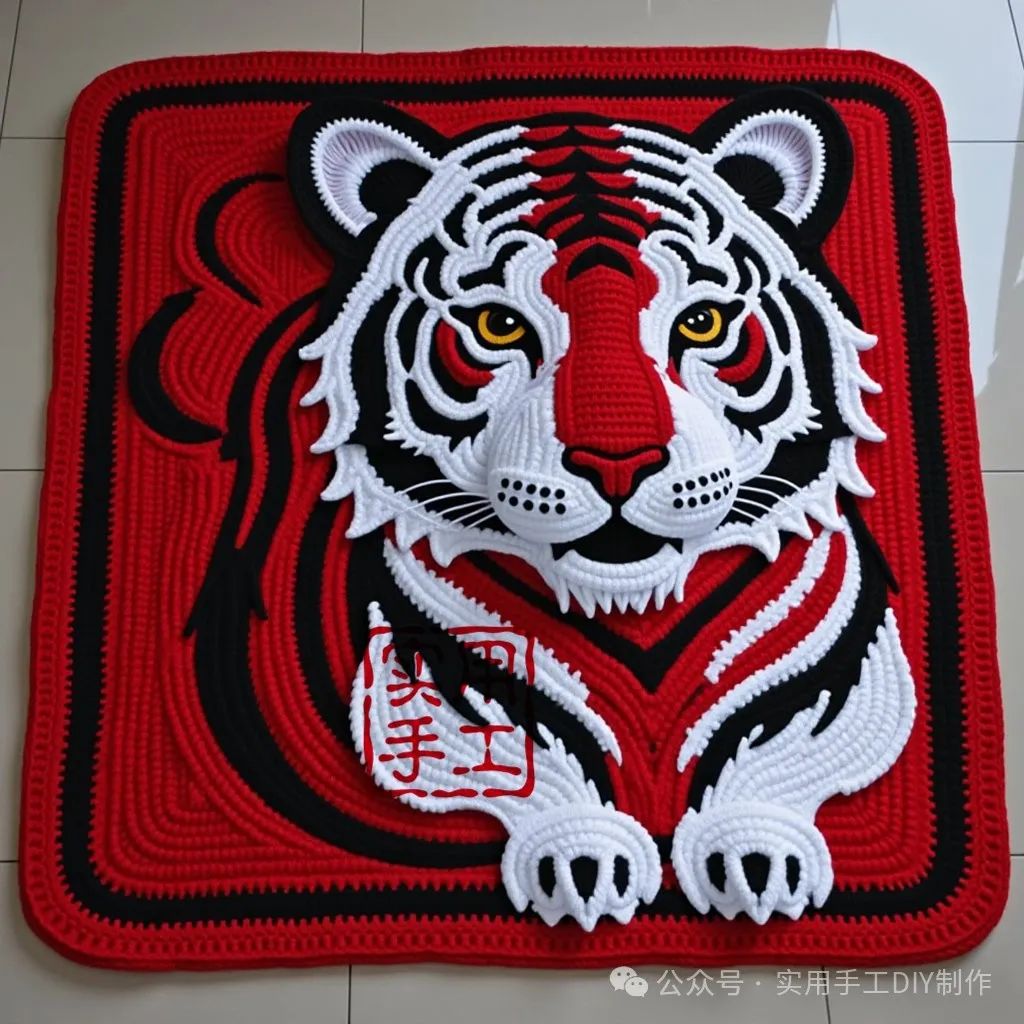
Creating a tiger pattern rug is an engaging and challenging project. Here is a simplified guide:
Materials: – Yarn in various colors (primarily orange, black, and white) – Crochet hook (recommended size matching the yarn specifications) – Scissors – Needle and thread (for weaving in ends) Steps: Step 1: Select a Pattern Choose a tiger pattern that includes detailed instructions and charts. Step 2: Preparation Decide on the rug size and adjust the pattern dimensions accordingly. Beginners should start with a smaller size. Select yarn suitable for the rug, considering thickness and durability. Step 3: Start Crocheting Crochet the base section, typically a large rectangle or circle, using the base color (e.g., orange). Begin with a chain stitch based on the desired width. Work double or single crochet stitches row by row until the required length is achieved. Incorporate the tiger pattern by following the chart instructions, switching yarn colors as needed. Use multiple colors simultaneously. When changing colors, conceal the old yarn within the new stitches for a neat appearance. Step 4: Finish the Rug After completing the pattern, crochet the border to enhance durability. Options include a round of single or double crochet or adding a lace edge. Weave in all ends with a needle and thread to ensure a tidy finish. Additional Tips: Patience and attention to detail are crucial, especially for complex patterns. Beginners should practice basic stitches and small patterns first.